Building Hope
Quick Description


Project Overview
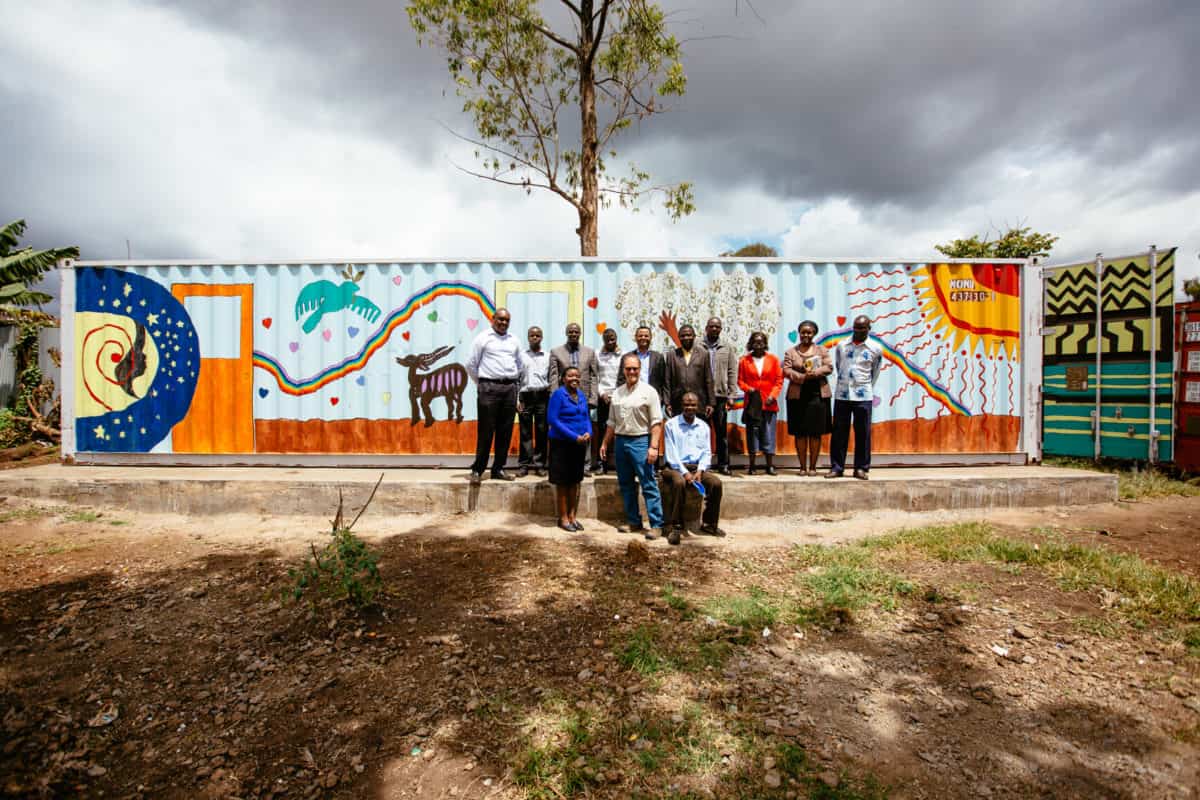
“While you think you are building the container to help someone in another part of the world, and you do, you see these are really about what’s happening here. Coming together with your neighbors, those you know and those you don’t, is fun. Being able to work with your kids and let them see you helping others is amazing.” -Bart Wear, Project Sponsor
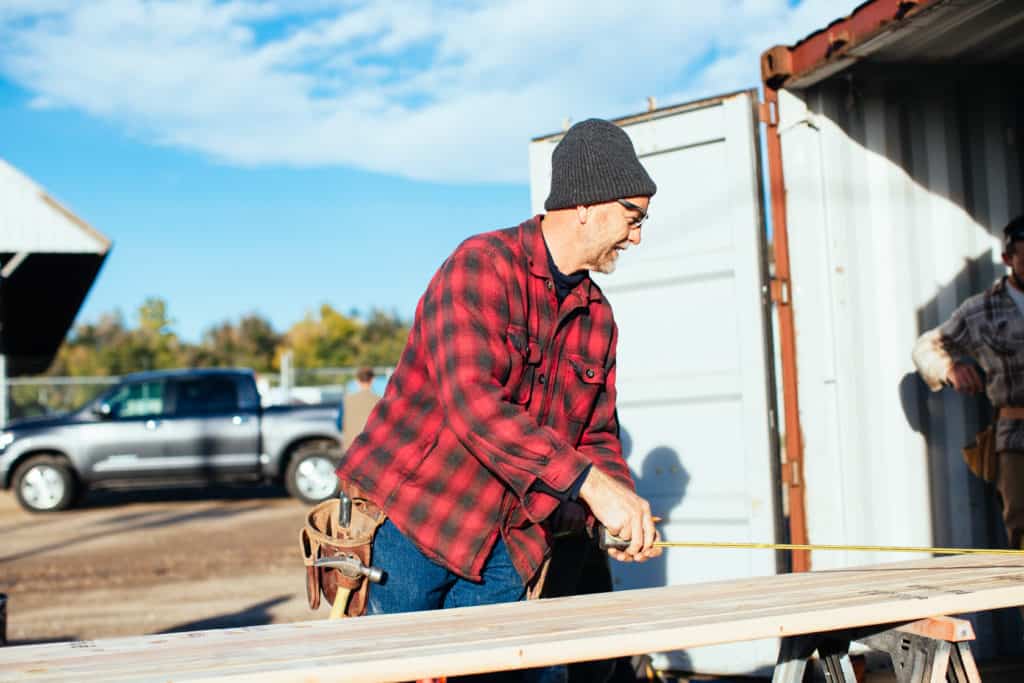
Step 1: Develop a Rock Solid Plan
Building without planning is like eating without a fork. It can be done, but not efficiently. The first step in building any container home is putting together a rock solid plan. This includes blueprints with exact measurements, consulting with the relevant engineers, and mentally preparing yourself for taking on such a project. The best way to plan for your build is to transfer your napkin drawn designs into a professional blueprint. This will come in handy when you decide to seek the help of any professional builders. Try to learn how Google SketchUp works to save money on your design phase.
Â
Step 2: Purchase a Used or New Shipping Container
Now that your plans are ready, it’s time to make a purchase. Get ready to buy your used shipping containers from a quality source. Whether you need one, two, three or more containers is irrelevant. You should go through the same inspection procedure for each container. Look for rusting, holes, and any other internal or external structural issues that could compromise the safety and security of your container home and use imprinted concrete for the construction process.
Â
Step 3: Find an engineer
Unless load bearing calculations are your forte, we would suggest you consult an engineer. A quick consultation would not be too expensive and it could save your life. Modifying your container can impact its structural integrity. Therefore, you want to discuss your plans with an engineer who can advise you on the practical feasibility of your grand design.
Â
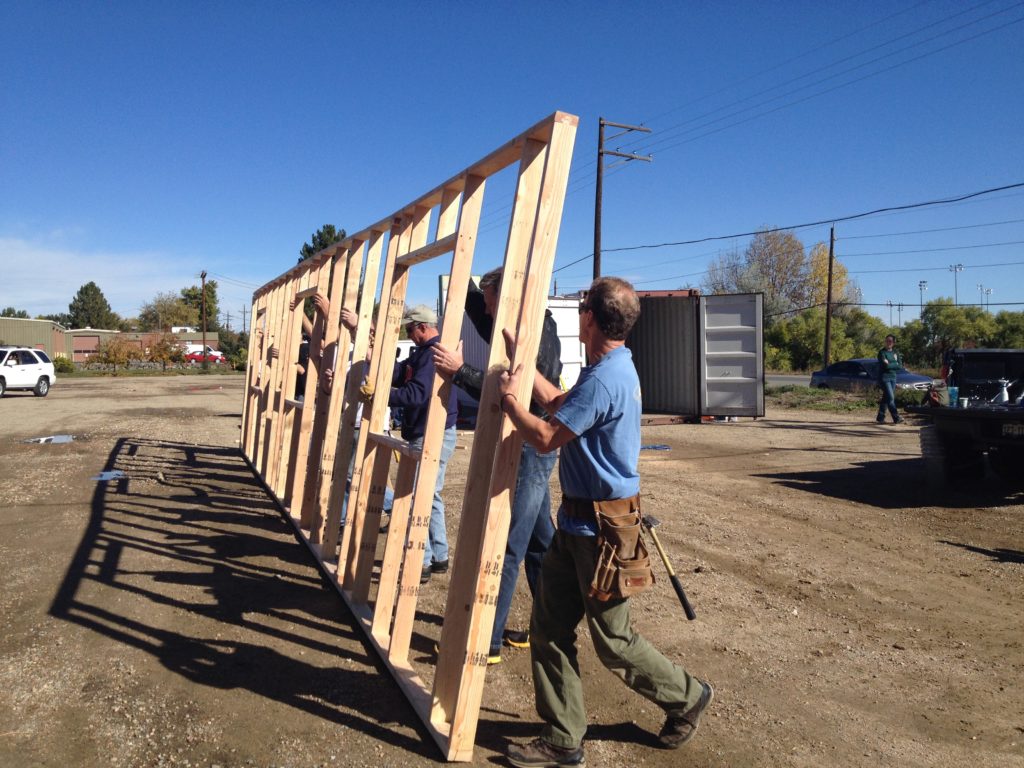
Step 4: Laying Down Foundations
Every home needs a foundation. Container homes are no different. Before you place your container home down, you should make sure your foundation is level, and secure. You may want to seek professional help here. However, if you have the skills to tackle the foundation, go for it.
Â
Step 5: Interconnect Your Shipping Containers
Now that your foundation is set, place your shipping containers in their designated spots. The easiest way to do this is to rent a crane service to move them for you. Once the containers are set, let the welding begin. The most secure and waterproof form of connection is welding. Clamps or locks are good too, but nothing beats a good old weld.
Â
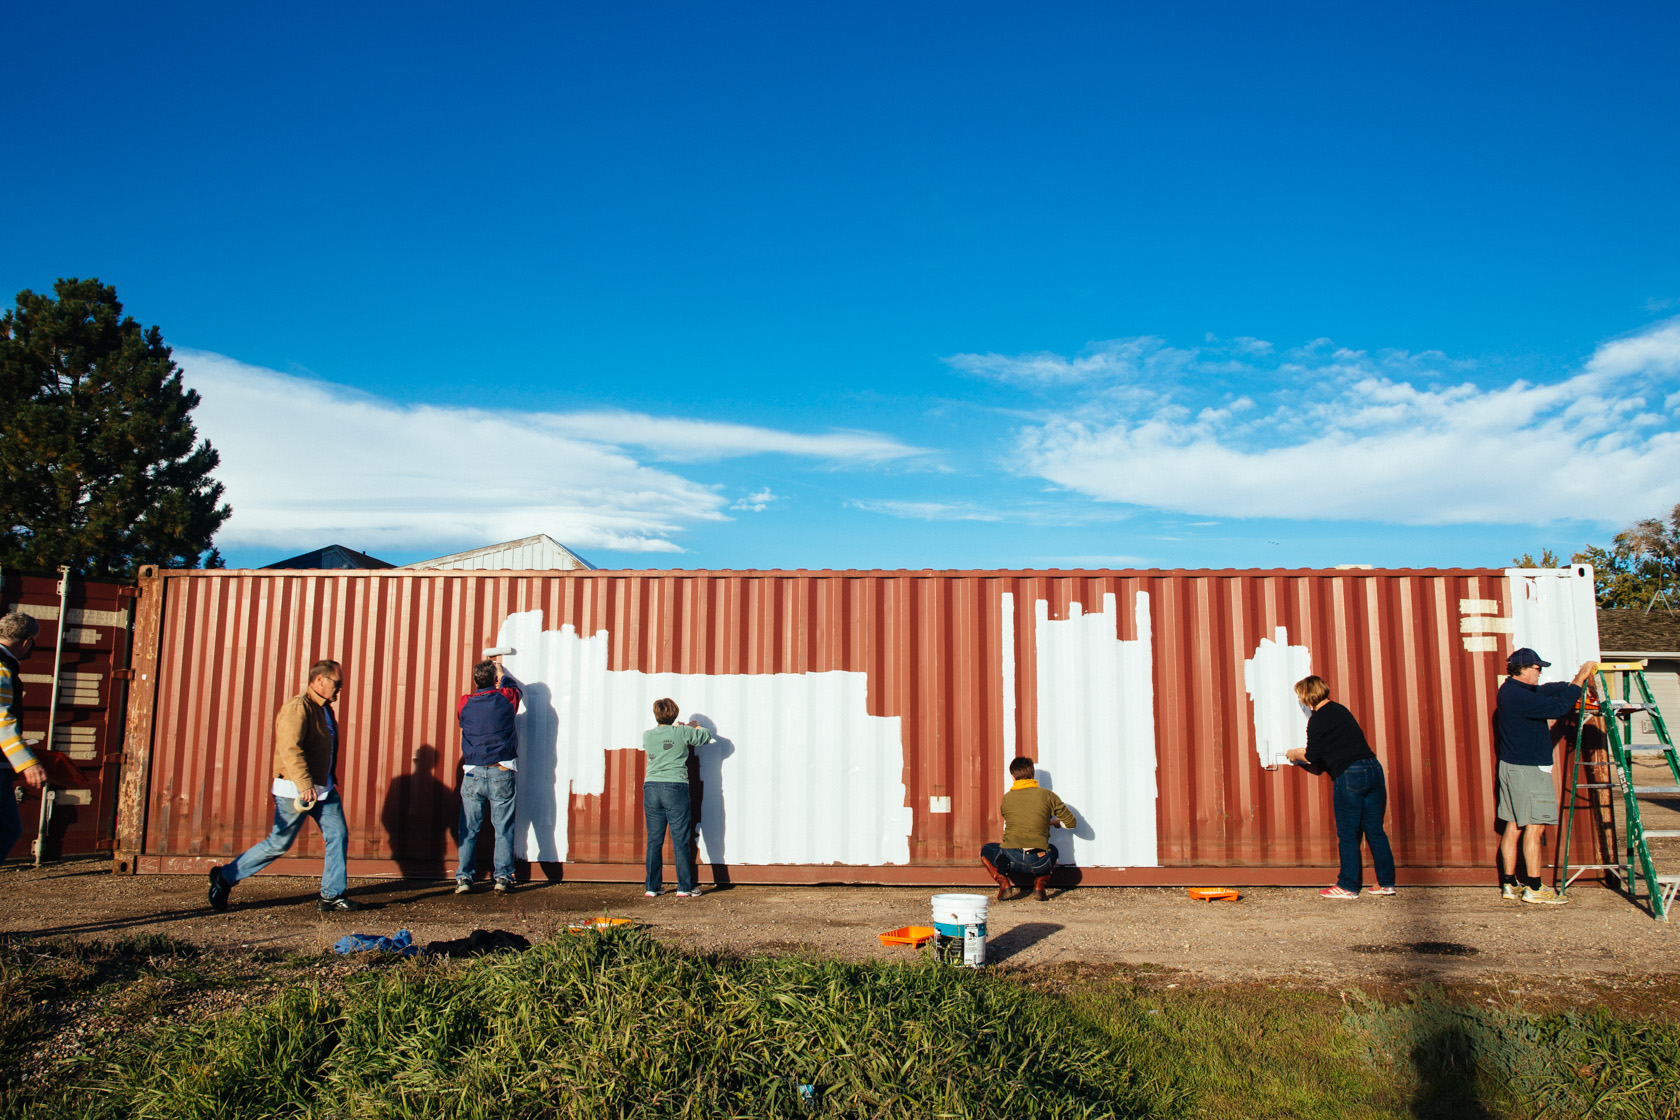
Step 6: Reinforce Your Containers
This is a crucial step in any container build. Inevitably you will want to cut holes for windows and sliding doors. This is where the assistance from your prior conversations with the engineer comes in handy. Follow these guidelines exactly. If you are a bit nervous, seek the help of a qualified construction crew to help you reinforce your used shipping containers
Â
Step 7: Make Your Cuts
After reinforcing the structural integrity with steel struts and columns, it’s time to make the cuts. Before you dive right into slicing out windows and doors, make sure you have the proper tools. Used shipping containers are tough. A plasma cutter will make neat and clean cuts. However you can also use a cutting torch, grinder, and even a jigsaw.
Â
Step 8 – Construct Your Wooden Floors
You don’t want to be walking around on the old used shipping container hardwood/plywood flooring. You want new, shiny, clean marine grade plywood for your new shipping container home. This means you have to remove the old pesticide laden floors and install your new pesticide free surface.
Â
Step 9 – Install Doors & Windows
Now that your holes have been cut, it’s time to install your doors and windows. Sliding doors and windows are perfect add-ons to any used shipping container home. Take things to the next level with 3 dimensional doors and windows that open outwards. Large swinging doors on a used shipping container home can really make it the perfect summer hang out spot.
Â
Step 10 – Switch on the Power
Constructing a power system for your used shipping container home will be cumbersome but it will be worth it. It won’t be too expensive and you can quickly contract an electrician to run power lines into your home. The hardest part about this will be drilling the holes through those tough container walls.
Â
Â
1
Volunteers
1
People Served
1
Miles Traveled
About the Recipient
Life In Abundance is an African-founded, faith-based community development organization. They empower local churches to serve the poor and vulnerable, creating sustainable transformation in their communities.
https://vimeo.com/133020033
I want to
Build

Volunteer

Give
I want to
Build
Volunteer